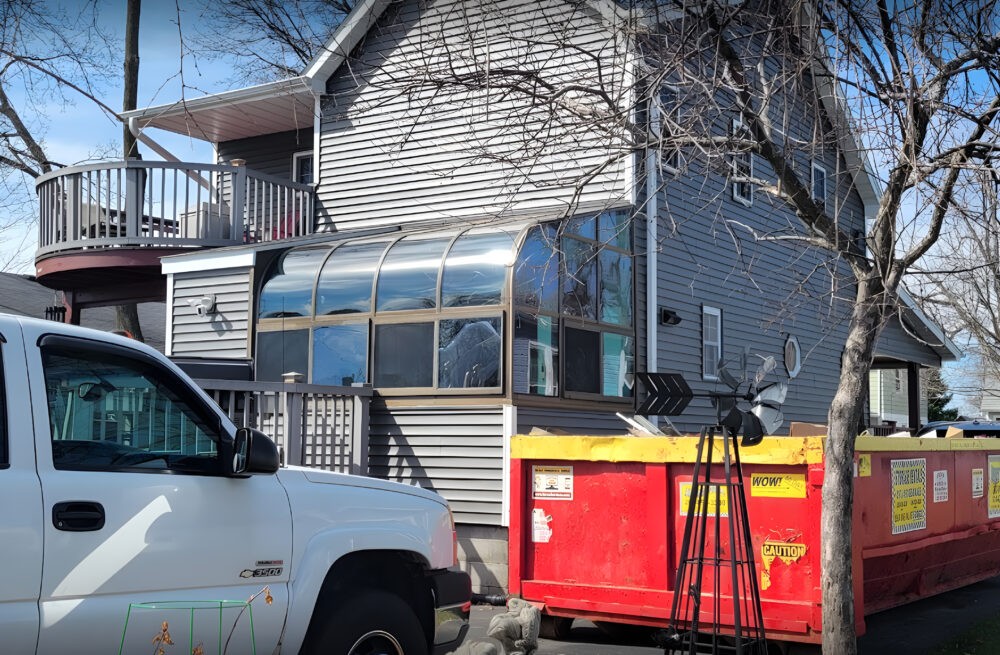
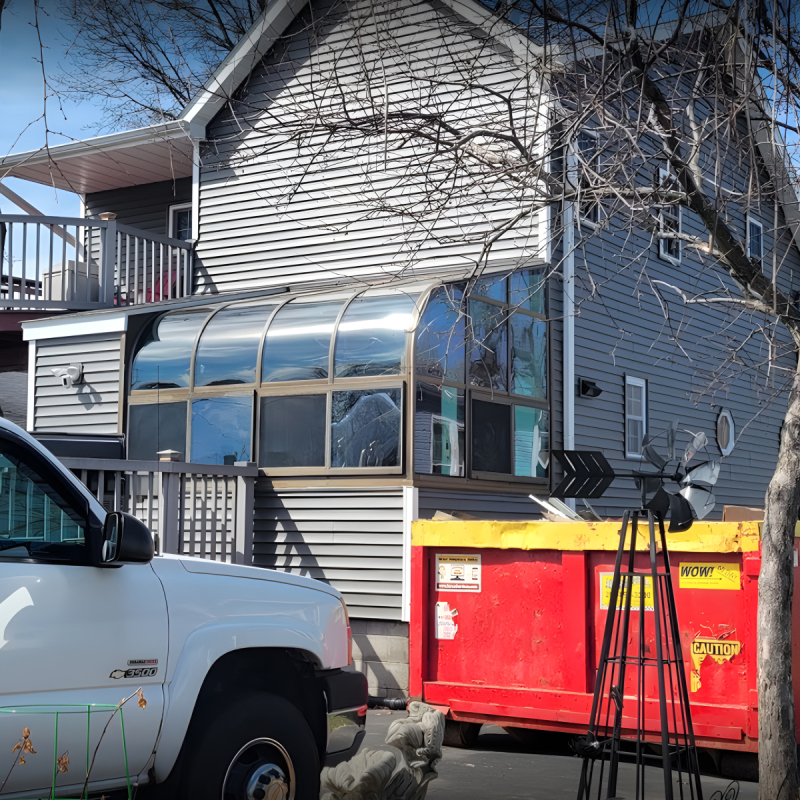
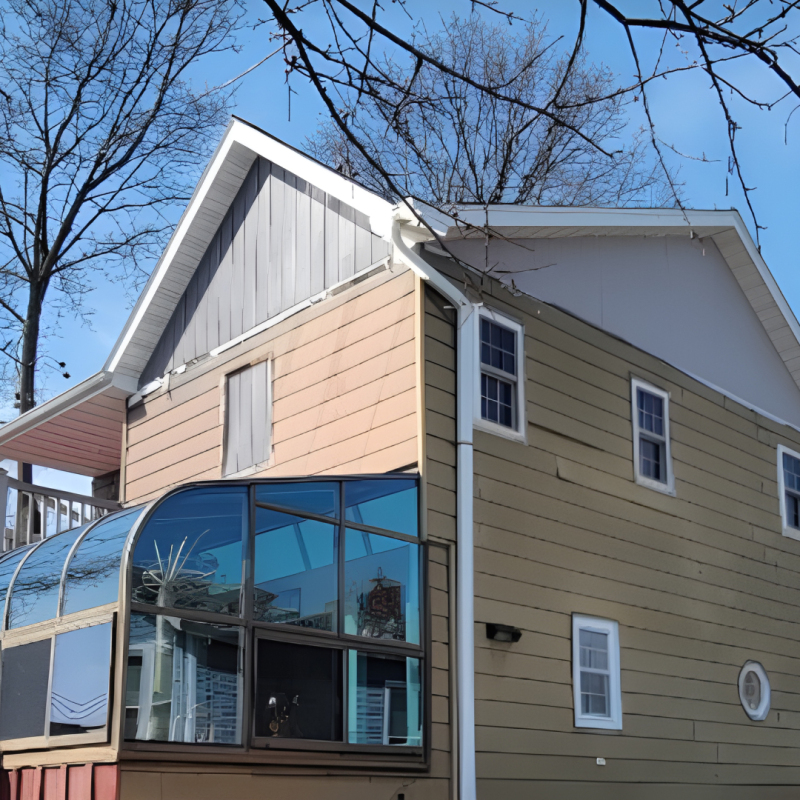
Our team at Sidex recently did a vinyl siding installation in Waukesha, WI for our new client, the Fagen family. The Fagen’s wanted to update the outside of their home and make it maintenance free. Our team began with installing vinyl siding with expanded polystyrene (EPS) insulation can be a complex process, especially when navigating around structures like a solarium at high heights. Nevertheless our team was able to get the job done in a fast and professional manner. Here’s a step-by-step description of how such an installation might be carried out:
Assessment and Planning
- The installation crew begins by assessing the structure and solarium to understand the layout, dimensions, and any potential challenges.
- They create a detailed plan, taking into account the solarium’s height and the need to work around it.
Safety Precautions
- Safety is a top priority. The crew ensures that they have the necessary safety equipment, including harnesses, scaffolding, and fall protection gear.
- If the solarium is at a considerable height, a safety plan is established to prevent accidents and injuries.
- Preparation of the Solarium Area:
- Before starting the siding installation, the crew may need to prepare the solarium area. This could involve securing any loose items, covering windows to protect them, and ensuring a clean and safe work environment.
Installation of Siding Panels
- The crew starts by installing the EPS insulation panels onto the exterior walls. These panels provide additional thermal insulation.
- Vinyl siding panels are then attached to the EPS insulation. The crew carefully measures and cuts the panels to fit the specific dimensions of the walls around the solarium.
Customization for Solarium Structure
- The crew faces the challenge of navigating around the solarium structure. This may involve cutting and shaping siding panels to fit precisely around corners, edges, and any protruding features of the solarium.
- Special attention is given to maintaining a weatherproof seal around the solarium to prevent water infiltration.
High-Height Considerations
- If the installation involves working at high heights, the crew utilizes scaffolding, ladders, or other appropriate equipment to safely reach and work on elevated areas.
- Each team member follows strict safety protocols, including securing themselves to prevent falls.
Finishing Touches
- Once the siding is installed around the solarium, the crew completes any necessary finishing touches. This may include sealing joints, installing trim pieces, and ensuring that the siding is securely attached.
Cleanup
- The crew cleans up the work area, removing any debris and ensuring that the solarium and surrounding areas are left in a tidy condition.
Quality Check
- A thorough quality check is performed to ensure that the siding is properly installed, aligns correctly, and meets aesthetic and functional standards.
Client Walkthrough
- The client is invited to inspect the completed installation. Any concerns or questions are addressed, and final adjustments are made if necessary.
- Throughout the entire process, communication and coordination among the installation crew are crucial to ensure a successful and safe vinyl siding installation, especially when dealing with challenges posed by structures like solariums at high heights.
Throughout the entire process, communication and coordination among the installation crew are crucial to ensure a successful and safe vinyl siding installation, especially when dealing with challenges posed by structures like solariums at high heights.
Details of Vinyl Siding Installation In Waukesha, WI Project
- Removed old aluminum siding
- Installed insulation
- Installed maintenance free vinyl siding with a double lifetime warranty
- Clean up and hauled away debris
SiDEX sided our entire home. There was a huge challenge to navigate around our solarium and didn’t want it damaged. SiDEX’s team was professional, honest and did great work (including clean-up); Thank you!! Would recommend to others.
~Sarah Fagen


